Some nights, I don’t want a “recipe”—I just want a sweet potato with a fluffy center and a skin that actually has a little bite to it. The air fryer nails that sweet spot without heating up the whole kitchen, and cleanup is basically just the basket.
This is the simple, reliable version: olive oil for a lightly crisped skin, salt and pepper for clean flavor, and enough time for the inside to turn soft and steamy. If you love the potato-y side of air frying, you’ll also appreciate how this fits right in next to things like crispy air fryer baked potatoes—same low-effort payoff, different vibe.
Why This Air Fryer Recipe Works
- Oil + hot circulating air = better skin: A thin rub of olive oil helps the sweet potato skin dry slightly and brown instead of staying papery.
- Fork piercing prevents blowouts: A few quick pokes let steam escape so the potatoes cook evenly without splitting.
- Salt and pepper actually show up: Seasoning the oiled skin means you taste it in every bite—especially if you eat the skin.
- Tenderness is easy to judge: You’ll know it’s done when a fork slides into the thickest part with almost no resistance.
- Hands-off cooking: Once they’re in, you’re not babysitting a pan—just check doneness toward the end.
The Story Behind This Recipe
This is what I make when I’m craving something cozy but don’t want to commit to peeling, chopping, and flipping a whole tray—especially on weeknights when I’d rather save my effort for the main. If you’re more in the mood for shapes and crunch, my go-tos are air fryer sweet potato fries or air fryer sweet potato rounds, but a whole baked sweet potato is the simplest reset.
What It Tastes Like
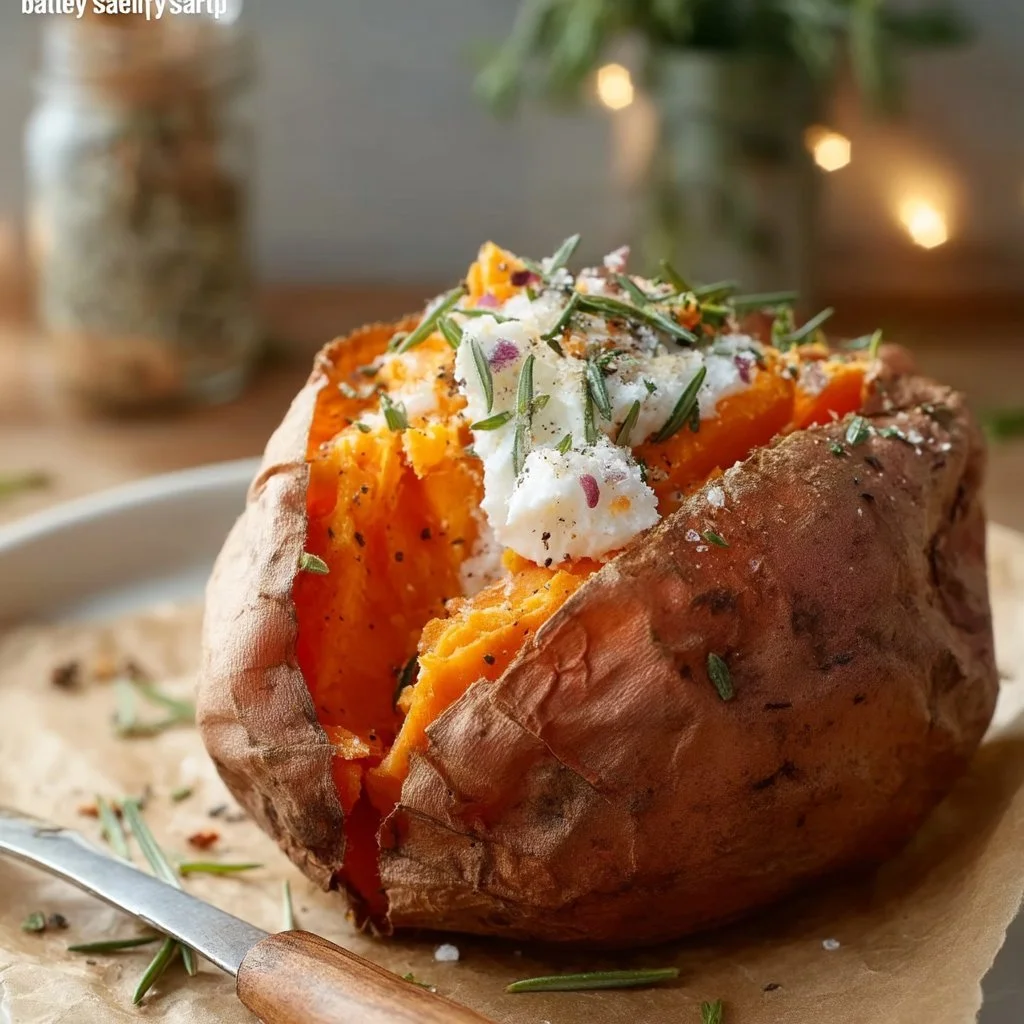
You get a gently crisped, seasoned skin (peppery and a little salty) with a soft, fluffy interior that smells sweet and earthy as soon as you split it open. Compared to a softer baked version, the air fryer gives the outside a more satisfying chew and light browning—nothing fried, just pleasantly “roasted” with minimal effort.
Ingredients You’ll Need
Sweet potatoes are doing the heavy lifting here—choose ones that feel firm and heavy for their size. Olive oil helps the skin brown and keeps the salt and pepper sticking evenly instead of falling right off. If you prefer, you can keep the seasoning simple (just salt and pepper) and let the sweet potato flavor shine—this method supports that.
- Sweet potatoes
- Olive oil
- Salt
- Pepper
How to Make Baked Sweet Potato
-
Preheat your air fryer to 425°F (220°C).
Starting hot helps the skin begin to dry and brown early, instead of steaming. -
Wash and dry the sweet potatoes well.
Since the skin gets eaten (and it’s where the seasoning lands), give them a good scrub and dry them thoroughly so the oil can coat evenly. -
Pierce each sweet potato a few times with a fork.
Aim for a few pokes around the thickest area—this is your steam release so the potato cooks through without splitting. -
Oil and season.
Rub a thin layer of olive oil all over each potato, then sprinkle with salt and pepper. You’re looking for a light, even sheen—not dripping. -
Air fry until tender, 45–60 minutes.
Place the potatoes in the air fryer basket and cook until a fork slides into the center easily. The skin should look slightly darker and drier, and the potato should feel soft when you squeeze it carefully with tongs. -
Cool briefly, then serve.
Let them sit a couple minutes so the steam settles—then split open and fluff the inside with a fork.
Air Fryer Tips for Best Results
- Dry the skins well before oiling. Water clinging to the skin can slow browning and make the outside feel more steamed than roasted.
- Use a thin oil coat. Too much oil can make the skin feel slick instead of lightly crisp.
- Don’t crowd the basket. Give each sweet potato a little breathing room so hot air can circulate around the sides and brown the skin more evenly.
- Start checking at 45 minutes. Sweet potatoes vary a lot by size; the fork-tender test matters more than the clock.
- Season right after oiling. Salt and pepper stick best when the oil is fresh on the skin, not after it’s already started cooking.
Variations and Add-Ons
- More pepper-forward: Add a heavier crack of black pepper before cooking for a spicier skin.
- Extra-salty skin: Use a slightly more generous pinch of salt (especially if you love eating the skin).
- Potato night mix-and-match: If you’re doing a potato spread, pair these with air fryer baked garlic parmesan potatoes for a savory contrast (different seasoning profile, same cozy energy).
Serving Ideas
Split the sweet potato lengthwise, fluff the inside with a fork, and let the salted, peppered skin be part of the bite. I like serving it as a simple side with anything that needs a warm, starchy partner, or as an easy lunch when you want something filling without extra steps. If you’re building a “potato board,” a crisp side like crispy sliced potatoes makes a fun texture contrast.

Storage and Reheating
Store leftover baked sweet potatoes in the fridge, covered, and reheat in the air fryer until the center is hot again. The skin won’t be quite as crisp as the first round, but the air fryer does a better job of reviving it than the microwave. If you’re reheating, keep the potato whole until it’s warm—splitting it first can dry out the center faster.
FAQs
Do I need to preheat the air fryer?
It helps. Starting at 425°F (220°C) gets the skin browning sooner and keeps the outside from turning overly soft.
How do I know when it’s done?
A fork should slide into the thickest part easily, with very little resistance. If it still feels firm in the center, keep cooking.
Can I cook more than one at a time?
Yes—just avoid crowding the basket. Air needs space to circulate around each potato for even cooking and better skin texture.
Why pierce the sweet potatoes?
Piercing gives steam a path to escape, which helps them cook evenly and prevents splitting.
Mine is browning but still not tender—what now?
That usually means the potato is on the larger side. Keep cooking until the inside is fork-tender; don’t rely on skin color alone.
Recipe Recap
These air fryer baked sweet potatoes are as straightforward as it gets—sweet potatoes rubbed with olive oil, salt, and pepper, cooked hot until the skins are lightly crisped and the insides turn soft and fluffy. It’s a low-effort side (or simple meal) that’s easy to judge by feel: fork-tender in the center is the goal.

Final Thoughts
Once you make sweet potatoes this way, it’s hard to go back—minimal prep, a properly seasoned skin, and that steamy, fluffy middle every time. Keep a few sweet potatoes around and you’ve always got an easy win waiting.
Conclusion
If you want to compare approaches or riff on the basic idea, I like the straightforward guidance in this baked sweet potato walkthrough, the extra focus on skin texture in these crispy-skin baked sweet potatoes, and the hearty inspiration from baked sweet potatoes with chili beans.
Air Fryer Baked Sweet Potatoes
Ingredients
Method
- Preheat your air fryer to 425°F (220°C).
- Wash and dry the sweet potatoes well.
- Pierce each sweet potato a few times with a fork.
- Rub a thin layer of olive oil all over each potato, then sprinkle with salt and pepper.
- Air fry the sweet potatoes for 45-60 minutes, until a fork slides into the center easily.
- Cool briefly, then split open and fluff the inside with a fork.